This is a mildly technical post that I’ve tried to make entertaining, but if you want to just skip to the part where you can learn how to get your Honda Elsinore 250 started, scroll down to where you see pictures of woodruff keys (spoiler alert).
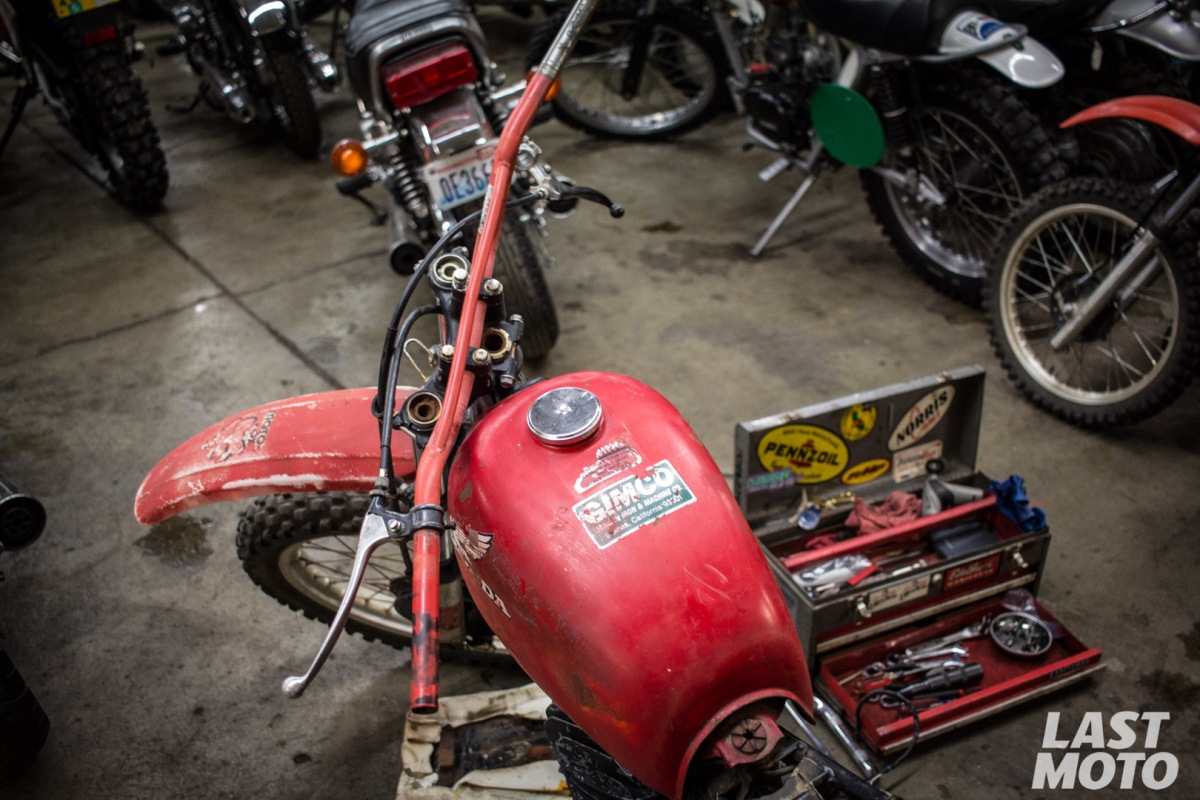
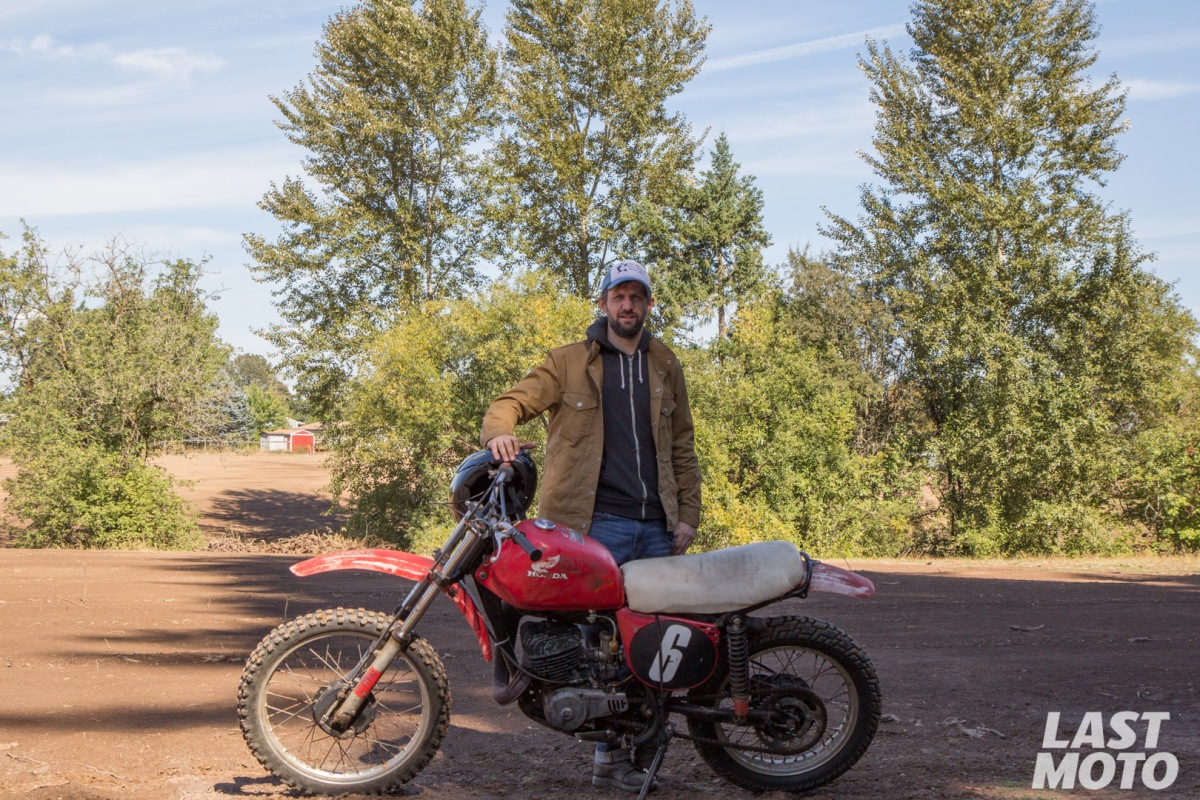
Maybe you are like me and you picked up a mid 70’s Honda two-stroke that’s been sitting outside for three years because, in the seller’s word, “it won’t run.” And perhaps you’ve checked compression, replaced the plug, cleaned the carb and set the points and you think that you’ve now done enough to appease the motorcycle gods and you’ll be ripping around a field in no time — blissfully breathing in the gas/oil mixture that’s now perfectly putt-ing out of your new purchase’s pipe.
Except that when you go to kick the bike over, it kicks back just as hard.
This is where we left off in my last post, except by some miracle I had actually got the bike started right before putting it away for the evening. Unfortunately the next day the bike was right back to kicking back and backfiring, with no joy in the whole “starting up” department.

I re-checked the points and made sure the firing marks on the flywheel matched up with the points on the case. After much head scratching, a friend suggested that the problem was behind the flywheel. A single woodruff key holds the flywheel in place so your timing between the crank and the flywheel are in sync. If that woodruff key is missing or damaged, the flywheel will just spin wildly on the crankshaft, leaving you to wonder how your timing can be so off.
This is what was happening to my new bike. At some point in the past, the woodruff key had sheared right in half. And that time I got the bike to fire up and make all those motorcycle noises? A complete fluke, really. When the thing that dictates your timing (the flywheel) is spinning around the crankshaft like a pinwheel, it’s going to tell the bike to fire when it shouldn’t — thus the constant backfiring and general crankiness of the motorcycle.
I ran to the nearest hardware store that carried metric and picked up a woodruff key and slapped it in the bike and it started right up! And it sounded great and ran like a champ until it died while I was riding it triumphantly around the parking lot. I had sheared another woodruff key. Even though I had cranked down the flywheel with an air impact gun it had split the key right in half once again.
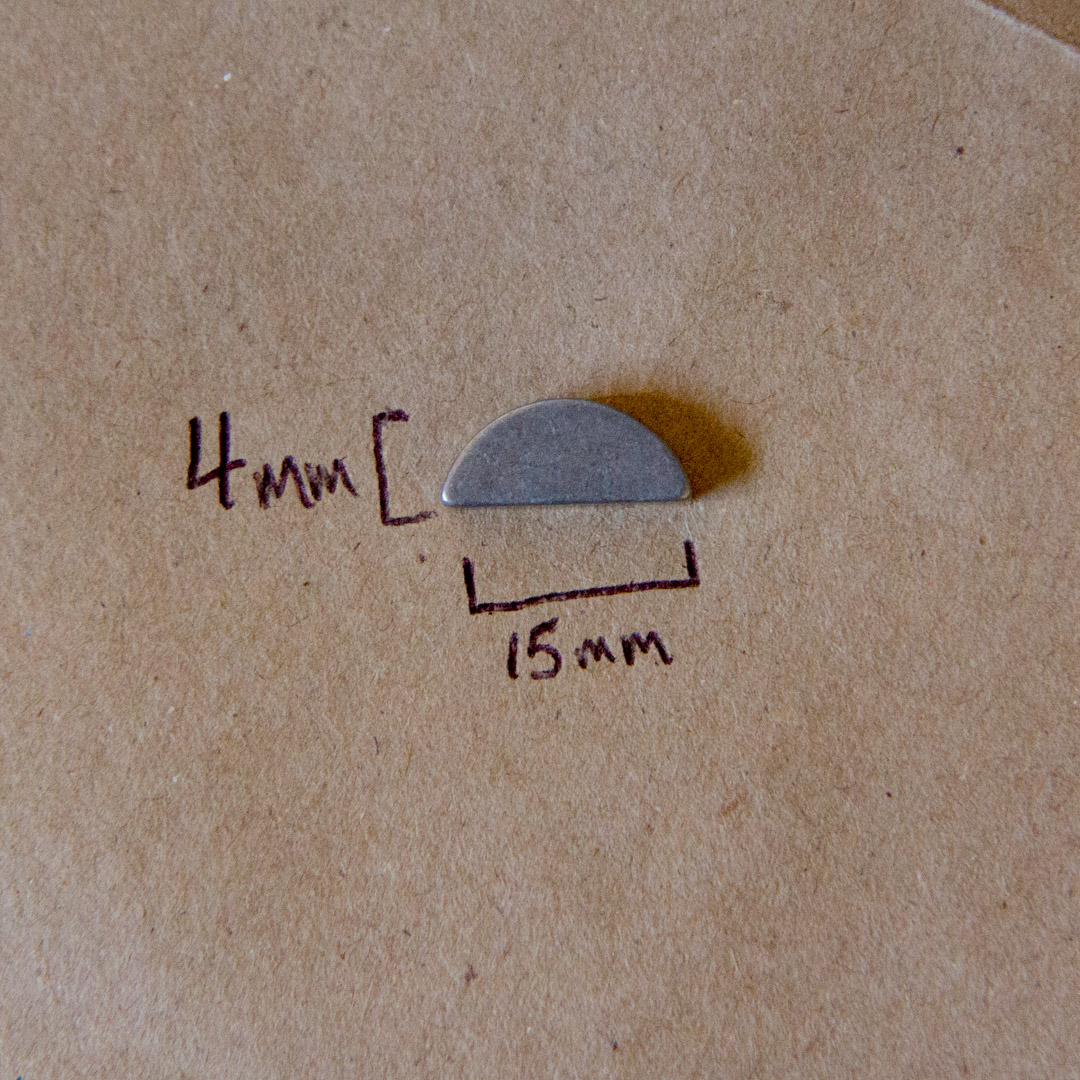
It turns out the metric woodruff keys you can pick up at your local hardware store are actually a hair too tall to allow the flywheel to sit flush on the crankshaft. The key I picked up measured 4mm tall, 4mm wide and 15mm long. You actually need to shave approximately a half a millimeter off the height to get the crank to sit nice and flush.

A great way to test this is to put your flywheel on the crank without the woodruff key and take a measurement of the threaded part of the crankshaft. When you install the flywheel onto the crankshaft with the woodruff key, this measurement should be the same. If it is less, then your woodruff key is keeping it from sitting flush.

You can fix this with a bench grinder and a set of vice grips.
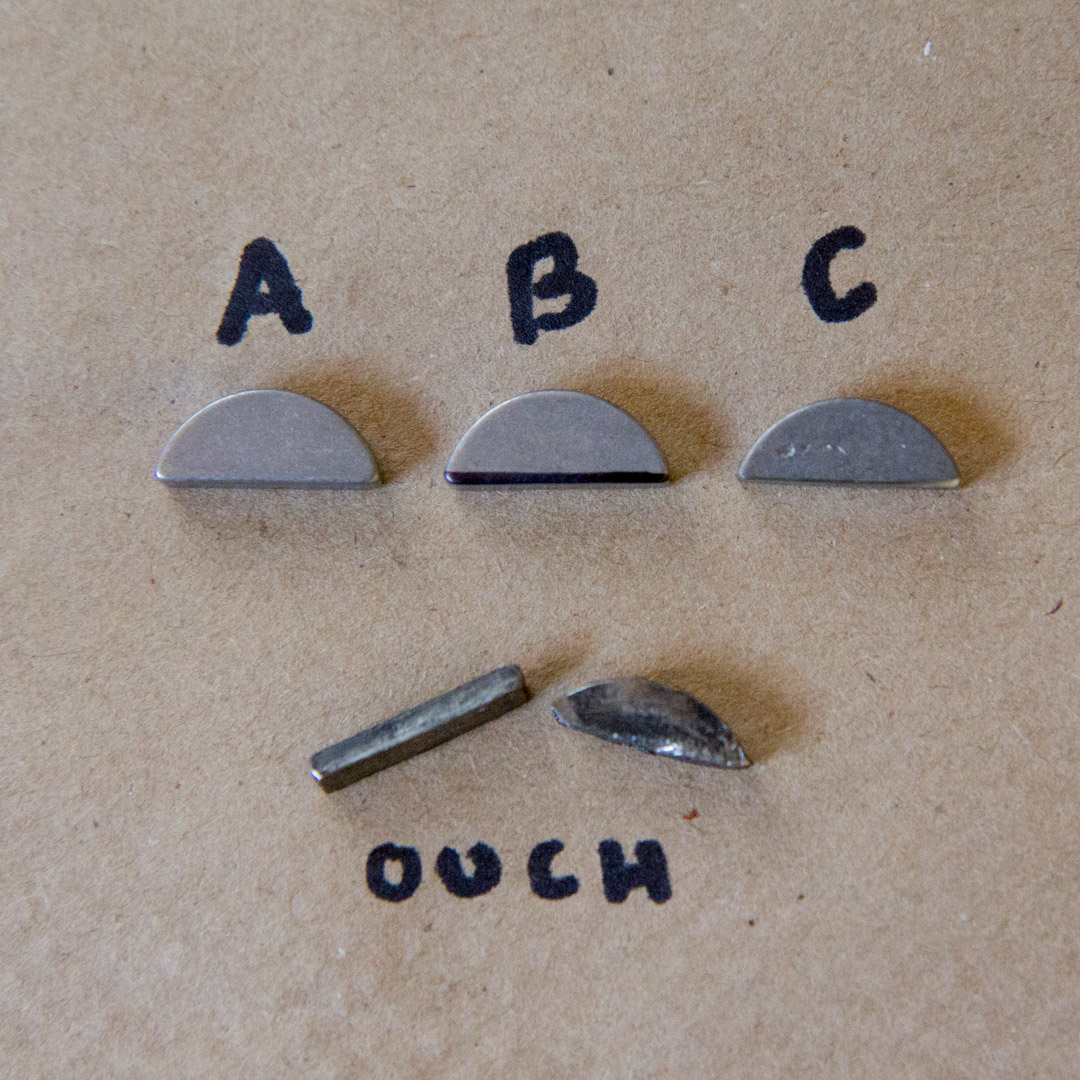
Take your 4x4x6mm woodruff key (A) and make a small mark with a Sharpee on the bottom (B). Now take your key and secure it in a set of vicegrips and hit this with a bench grinder until the black mark is gone. Make sure to de-bur the edges with something like emery cloth or fine sandpaper. You should end up with a woodruff key that looks like C – a small but important amount of material is removed so your woodruff key doesn’t end up looking like the one labeled OUCH.
It’s really only about a .5mm to .75mm difference – just make sure you don’t remove too much or else your key won’t have enough metal to be effective.
I made a few backup woodruff keys as I would be taking this thing out on the dirt track the next day, but so far I haven’t sheared any more and I’ve been able to move onto other improvements.
So in my next post I’ll go over my first day on a dirt track and my first day on this bike, along with some of the modifications I’m making to the wheelbase and the actual look of the bike.


Enjoyed the detailed photos… Someone out there with a similar problem will be very happy to find this post someday!
Pingback: Flat Track Photos: Running the Elsinore and Seeing What Breaks – Last Moto
Pingback: How To (Maybe) Build a Flat Track Racer – Last Moto